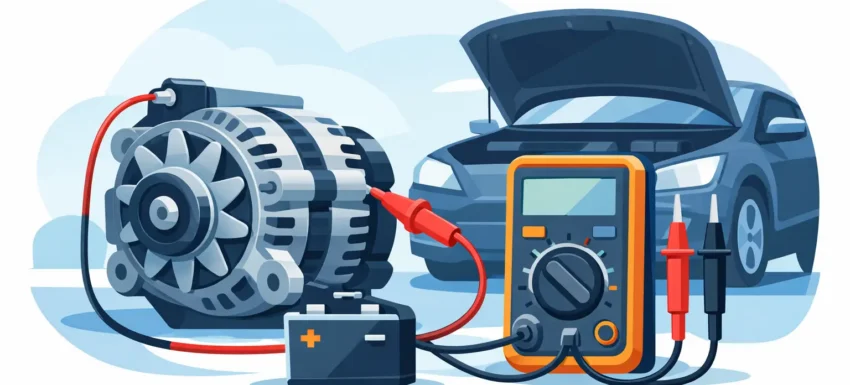
How to Test an Alternator with a Multimeter
A charging fault can easily be mistaken for a bad battery. Slow starting, warning lights, electrical faults and a battery that repeatedly goes flat can all be caused by an alternator that isn’t charging correctly.
Fortunately, you can carry out several useful alternator checks with a multimeter before replacing any parts.
Start with the battery
Before testing alternator output, check the battery itself.
With the engine switched off and the vehicle allowed to settle, measure voltage directly across the battery terminals.
A healthy, fully charged 12V battery will normally be around 12.6V. A reading nearer 12.2V indicates a significantly discharged battery, while a reading below 12V means the battery is heavily discharged.
Don’t condemn the alternator purely because the battery voltage is low. A discharged or failing battery can affect the results of charging-system tests.
If necessary, charge and test the battery first.
Check the charging voltage
Start the engine and measure voltage across the battery again.
On a conventional charging system, you would normally expect the voltage to rise above the engine-off battery voltage, commonly into the region of approximately 13.5–14.8V.
The exact figure varies between vehicles and operating conditions, so don’t treat one voltage figure as an absolute pass or fail.
If the voltage doesn’t rise significantly after starting, there may be a problem with the alternator, wiring, drive belt, charging control system or associated components.
Test the alternator under electrical load
An alternator can appear to charge correctly when very little electrical power is being used but struggle once demand increases.
With the engine running, switch on several electrical consumers, such as:
- Headlights
- Heated rear window
- Heater blower
- Heated seats, if fitted
Watch the battery voltage while these loads are operating.
Some voltage change is normal, but a conventional charging system shouldn’t collapse simply because normal electrical loads have been switched on.
If the voltage drops substantially under load, investigate alternator output, belt condition and the charging cables before replacing the alternator.
Check the drive belt
Before getting too involved electrically, inspect the alternator drive belt.
Check for:
- Excessive looseness
- Cracking
- Contamination
- Damaged tensioners
- Belt slip
An alternator cannot produce its rated output if it isn’t being driven properly.
Carry out a positive-side voltage-drop test
A good alternator can still appear faulty if resistance in the charging cable prevents its output reaching the battery.
With the engine running and electrical loads switched on, measure voltage between the alternator B+ output terminal and the battery positive terminal.
Ideally, the voltage drop should be very small.
An excessive reading indicates resistance somewhere between the alternator and battery. Possible causes include corroded connections, damaged cables, poor terminals or problems within a fused distribution connection.
This is an important test because replacing the alternator won’t repair a bad charging cable.
Check the earth side
The alternator also needs a good earth path back to the battery.
Measure between the alternator casing/engine and the battery negative terminal while the charging system is under load.
Again, the voltage drop should be low.
A poor engine earth strap, corroded connection or damaged ground cable can reduce charging performance and produce misleading voltage readings.
Check for AC ripple
An alternator generates AC internally and uses diodes to convert it to DC for the vehicle.
If a diode begins to fail, the alternator can still produce charging voltage while introducing excessive AC ripple into the electrical system.
If your multimeter has a suitable AC-voltage range, measure across the battery with the engine running.
An abnormally high AC reading can indicate an internal alternator or diode problem.
Excessive ripple can cause:
- Battery drain
- Warning lights
- Strange electrical behaviour
- Charging complaints
- Communication or electronic faults
The acceptable reading varies between vehicles and test equipment, so use manufacturer information where available rather than relying on one universal figure.
Don’t forget modern smart-charging systems
Testing newer vehicles isn’t always as simple as looking for a constant 14V at the battery.
Many modern vehicles use ECU-controlled smart charging. Alternator output may deliberately rise and fall according to battery condition, electrical demand, engine load, fuel-saving strategies and information from a battery monitoring sensor.
A changing charging voltage therefore doesn’t automatically mean the alternator is faulty.
On these vehicles it is useful to combine multimeter testing with diagnostic information.
Check for:
- Charging-system fault codes
- Battery-management faults
- Commanded alternator output
- Actual charging voltage
- Battery sensor information
- ECU charging requests
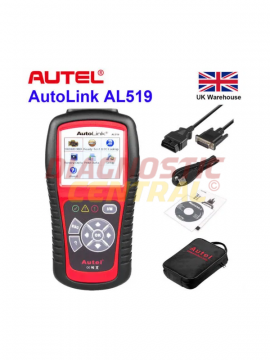
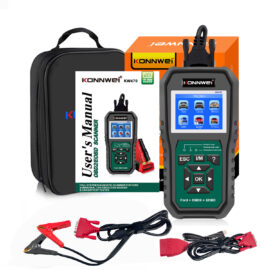
A suitable diagnostic scanner can therefore be extremely useful alongside the multimeter, particularly on stop-start and intelligent charging systems.
Common results and what they can indicate
Battery voltage is low and remains low with the engine running:
Check alternator output, belt drive, charging cables, fuses and control systems.
Charging voltage is excessively high:
The voltage regulator or charging-control system may be faulty.
Voltage looks normal with little load but drops badly when electrical equipment is switched on:
Check alternator capacity, belt condition and resistance in the positive and earth circuits.
Charging readings are intermittent:
Look for poor connections, damaged wiring, worn alternator internals or an intermittent control-system problem.
Charging voltage varies considerably on a modern vehicle:
Don’t automatically condemn the alternator. Check whether the vehicle uses a smart-charging strategy and examine live diagnostic data.
Don’t use the old battery-disconnection test
Never disconnect a battery terminal while the engine is running to see whether the alternator keeps the engine running.
Although this was sometimes used on much older vehicles, it is not a safe alternator test on a modern vehicle.
Disconnecting the battery while the alternator is operating can cause voltage spikes and potentially damage ECUs and other sensitive electronics.
Use a multimeter and proper diagnostic procedures instead.
Battery condition still matters
A sulphated, internally damaged or deeply discharged battery can distort charging-system behaviour.
If the battery cannot accept charge correctly, alternator readings can appear erratic even when the alternator itself isn’t the original problem.
For workshop diagnosis, the best approach is to consider:
- Battery condition
- Alternator output
- Voltage drop
- AC ripple
- Fault codes
- Live charging data
rather than relying on one voltage measurement.
Multimeter or diagnostic scanner?
A multimeter is still one of the most useful tools for charging-system diagnosis. It allows you to measure actual voltage and identify resistance in cables and earth connections.
However, on modern vehicles a multimeter can’t tell you everything the ECU is doing.
A diagnostic scanner can provide the additional information needed to understand smart-charging commands, battery-management faults and other electronic problems affecting the charging system.
Using both gives a much clearer picture and reduces the risk of replacing a perfectly good alternator.