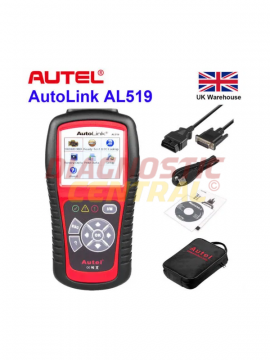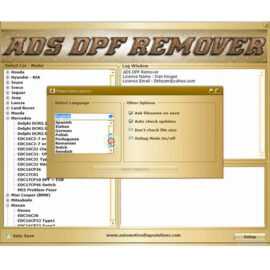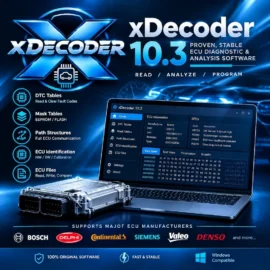
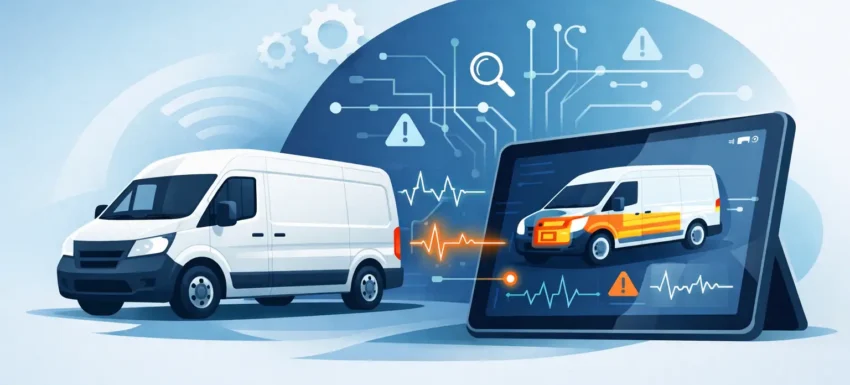
A van arrives with an intermittent no-start, an ABS warning and a dash full of messages. Replacing the battery may clear the display for a day, but it will not identify the cause. CANbus diagnostics for vans give technicians a direct view of the control modules, fault memories and live data behind those symptoms, cutting down the guesswork that wastes workshop time and customer money.
For fleet operators, mobile mechanics and independent garages, this matters more than ever. Modern vans rely on multiple electronic control units communicating constantly. Engine management, ABS, airbag, body control, parking sensors, steering, transmission and AdBlue systems can all share information across the vehicle network. One damaged wire, low system voltage or failed module can create faults in systems that are nowhere near the original problem.
What CANbus means on a modern van
CANbus, short for Controller Area Network bus, is the communication system that allows a van’s electronic modules to exchange data. Rather than each component needing a separate wire to every other component, modules send messages across shared network wiring. It reduces wiring complexity, but it also means a network issue can affect several systems at once.
A typical van may have more than one network. A high-speed CAN network normally carries time-critical information for systems such as engine control, braking and stability control. A separate body or comfort network may handle central locking, lighting, wipers, instrument functions and other convenience equipment. Gateway modules often control how information moves between those networks.
That arrangement explains why a basic engine code reader can be useful but insufficient. It may retrieve a generic powertrain code, yet miss the body control fault, communication issue or manufacturer-specific data that points to the actual repair. Professional van diagnostics need coverage of the modules fitted to that vehicle, not simply access to the engine ECU.
When CANbus diagnostics for vans are needed
A warning light is an obvious reason to connect a scanner, but it is not the only one. Communication problems are often intermittent and may leave few visible signs until the van is under load, wet weather exposes a connector issue, or battery voltage drops during a cold start.
Common situations include repeated battery drain, sporadic non-starts, multiple warning lamps appearing together, electric windows or mirrors failing, immobiliser concerns, limp mode, trailer electrical issues and functions that stop working after accident repairs or accessory installation. A van that starts normally but has an erratic speedometer, inoperative reversing sensors and a body-system warning should raise suspicion of a network or shared power issue before individual components are condemned.
The same applies after a new battery has been fitted. Many late-model vans are sensitive to voltage quality. A weak battery, poor earth or charging-system problem can trigger low-voltage and communication codes across several modules. Clearing those codes without checking battery condition and alternator performance simply sends the vehicle back out with an unresolved fault.
What a proper diagnostic scan can reveal
The value of a capable scan tool is not just the number of fault codes it displays. It is how well it helps the technician connect those codes to the vehicle’s current condition and known history.
A full-system scan can identify installed modules, show which units are responding, retrieve manufacturer-specific diagnostic trouble codes and reveal stored, pending or permanent faults where supported. It can also provide freeze-frame information, showing conditions when a fault was recorded, such as voltage, engine speed, coolant temperature or vehicle speed.
Live data is often where the repair path becomes clearer. On a diesel van, this could include rail pressure, boost demand, EGR position, DPF soot load, exhaust temperature and differential pressure. On the electrical side, a technician may check battery voltage at different modules, wheel-speed signals, door-switch status or whether a body control unit can see a key request.
Bi-directional or active testing takes the process further. Where vehicle coverage allows, the tool can command selected components or initiate system tests. Operating a cooling fan, cycling an actuator, carrying out an ABS pump test or commanding central locking can help distinguish a failed component from a wiring, supply or communication fault. These functions save time, but they must be used with care and in line with the manufacturer’s procedures.
Reading communication codes without chasing the wrong part
Codes beginning with U commonly relate to network communication. A U-code does not automatically mean the named module has failed. In many cases, it means another module expected a message and did not receive it.
For example, several modules may report lost communication with the engine ECU. Replacing the engine ECU would be an expensive gamble if the real issue is a blown supply fuse, corroded earth point, water ingress at a connector or a shorted CAN line. The pattern matters. If one module is missing from a network scan and several others log communication faults with it, start by checking that module’s power, earth and wiring integrity.
A sensible process is to inspect the basics before dismantling the vehicle. Check battery state, charging voltage, relevant fuses, earth straps and visible harness damage. Look closely at areas vulnerable on working vans: battery trays, bulkhead grommets, door looms, under-seat wiring, rear body connections and locations affected by water ingress. Only then move to circuit testing, resistance checks and, where necessary, oscilloscope analysis of CAN signals.
Do not measure network resistance blindly on a powered system. Isolate the vehicle correctly and follow safe workshop practice. A multimeter can identify many supply and continuity faults, but an oscilloscope is often the right tool when CAN signals look plausible at rest yet fail under vibration or load.
Why generic OBD2 readers have limits
Every competent technician should understand the difference between basic OBD2 access and full vehicle diagnostics. OBD2 was designed primarily around emissions-related powertrain monitoring. It is useful for reading generic engine faults and checking standard live data, particularly on many petrol and diesel vehicles.
However, vans frequently need more. Manufacturer-specific engines, body modules, service functions and commercial-vehicle systems may sit outside generic OBD2 coverage. A low-cost reader may show a P-code but offer no access to ABS, airbag, service reset, electronic parking brake, battery registration, DPF functions, injector coding or network topology.
That does not make every basic code reader worthless. For a competent owner checking an engine management light, it can be a practical first check. For a garage diagnosing a customer vehicle, it is rarely enough on its own. Tool choice should match the work being carried out, the makes regularly seen in the workshop and the depth of diagnostic access required.
Choosing diagnostic equipment for van work
Compatibility should be the first question, not the price on the screen. Check the tool’s stated coverage for the exact van make, model year, engine and system. A scanner that works well on passenger cars may have limited support for commercial variants, older models or manufacturer-specific functions.
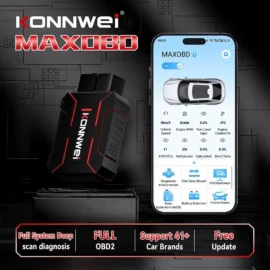
Look for full-system scanning, live data, clear code descriptions and service functions relevant to the work you actually do. If you work on mixed fleets, broad multi-make coverage is valuable. If your business handles a particular marque regularly, dedicated software or an appropriate brand-specific interface may offer deeper functions and more reliable module access.
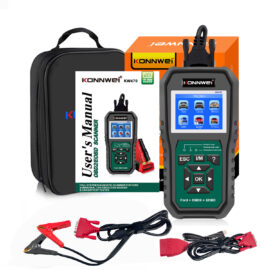
Adapter cables also matter. Some vans, lorries and trailers use non-standard diagnostic sockets or older connector arrangements. The correct lead prevents poor connections and avoids wasting time trying to communicate through the wrong pinout. A reliable setup should also include a battery support unit where programming, coding or prolonged diagnostic sessions are involved. Voltage stability is not optional during sensitive electronic work.
Diagnostic Central supplies tools and accessories for technicians who need practical coverage rather than vague promises. The right equipment should make fault-finding more precise, not add another layer of uncertainty.
A workshop process that produces better results
The scan tool should support diagnosis, not replace it. Start by confirming the complaint and recording all module codes before clearing anything. Note which warnings are active, whether the fault is intermittent, and whether recent repairs, accessory fitting, water ingress or battery problems are part of the vehicle history.
Then assess the code pattern alongside live data and basic electrical checks. Repair the confirmed cause, clear codes only when appropriate, and carry out a road test or functional test to verify the result. On a fleet van, a short confirmation drive can prevent the same vehicle returning with the same warning before the end of the week.
The best CANbus diagnostic result is not a screen full of codes. It is a defensible repair decision based on module communication, measured values and sound electrical testing – keeping the van earning rather than parked in the workshop.